One of Laura’s favorite peppers are Anaheims. They are a Southwestern-style

Anaheim Chili Peppers
traditional Anaheim chili pepper. Usually harvested green and used for stuffing, grilling, roasting, or processing. Peppers average 8″ long and have a thick, crisp flesh with mild heat and excellent flavor. Liva introduced us to them when we wanted to expand our varieties. We thought they probably brought her back to her days in the Southwest, and maybe even California to listen to her talk about the roasted green chilis! But now we understand, roasted green chilis are simply amazing and have become my go to ingredient in so many dishes from barbecue sauce to bloody marys!
Recipe from The Pioneer Woman Cooks (see her posting for more photos and tips!)
She says, “Roasted Green Chilies. Yum. Sure, you can buy ‘em in a can, either whole or diced, but why do that when you can roast ‘em yourself? Roasting chilies (or peppers) is one of the easiest things in the world, and provides such great flavor for any recipe that calls for them. Roasted green chilies can be used on top of nachos, in soups, sauces, in all sorts of Tex-Mex cuisine…and, my personal favorite, can be pureed and stirred into hot, homemade macaroni and cheese. Lawsie, lawsie mercy. Try that at your own risk.”
How
Begin by preheating your oven’s broiler or grill, another option. Lay the chilies (these are Anaheim Chilies, but you can also use Poblanos, Bell Peppers, etc.) on a foil-lined baking sheet. You’re going to char the heck out of ‘em, so you’ll be glad the foil is there.
Place the pan under the broiler (get as close as you can to the heating element) and let them broil until most of the skin is black. (You can also do this over an open flame on your cooktop or grill.) Then remove the pan, flip the chilies over, and repeat on the other side. When they’re done, they should look black and gross, like this.
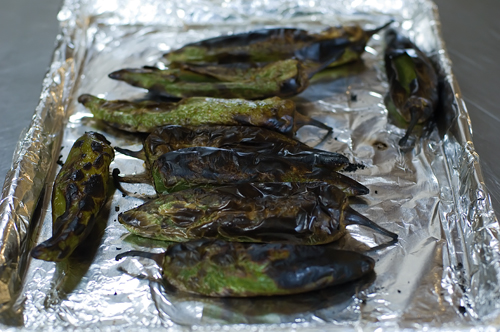
(Note: the charring process should take 10-15 minutes. You don’t want to leave them in there forever because they’d eventually disintegrate or become too mushy.)
Take them out of the oven (or off the grill) and while they’re still very hot, place the roasted chilies into a large bag or tupperware – plastic or paper. Then seal the bag and allow to sit around for 20 minutes or so. This will allow the chilies to steam, which will cause the charred skin to loosen.
When you’re ready, remove the chilies from the bag, one by one.
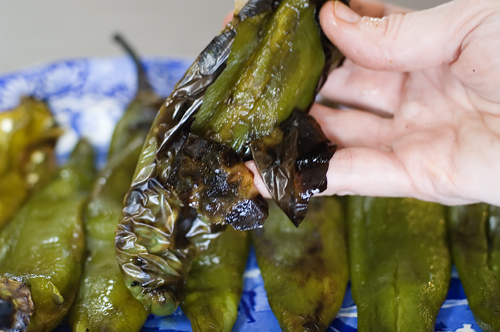
And with your fingers, gently peel off the black skin. Mmmm. Now, see those parts of the inner flesh that have some black flecks? That’s where the flavor is, baby. And you just won’t get that in a can.
Just discard the charred flesh. (Unless someone has any good suggestions for using it? I’ve racked my brain, and I’ve never been able to come up with anything.)
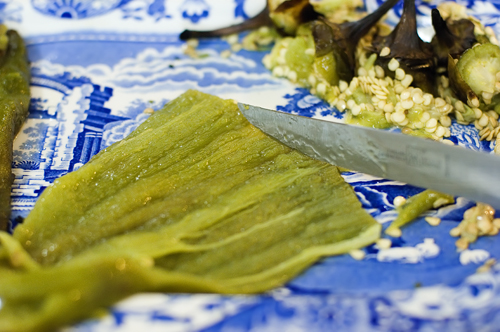
Now, you can package these tightly in a Ziploc and freeze them for later use if you’d like.Or, if you’d like to use them right away, just slice them open, lengthwise…And scrape out the seeds with a knife or spoon, or leave the seeds in depending on what you are doing with them.